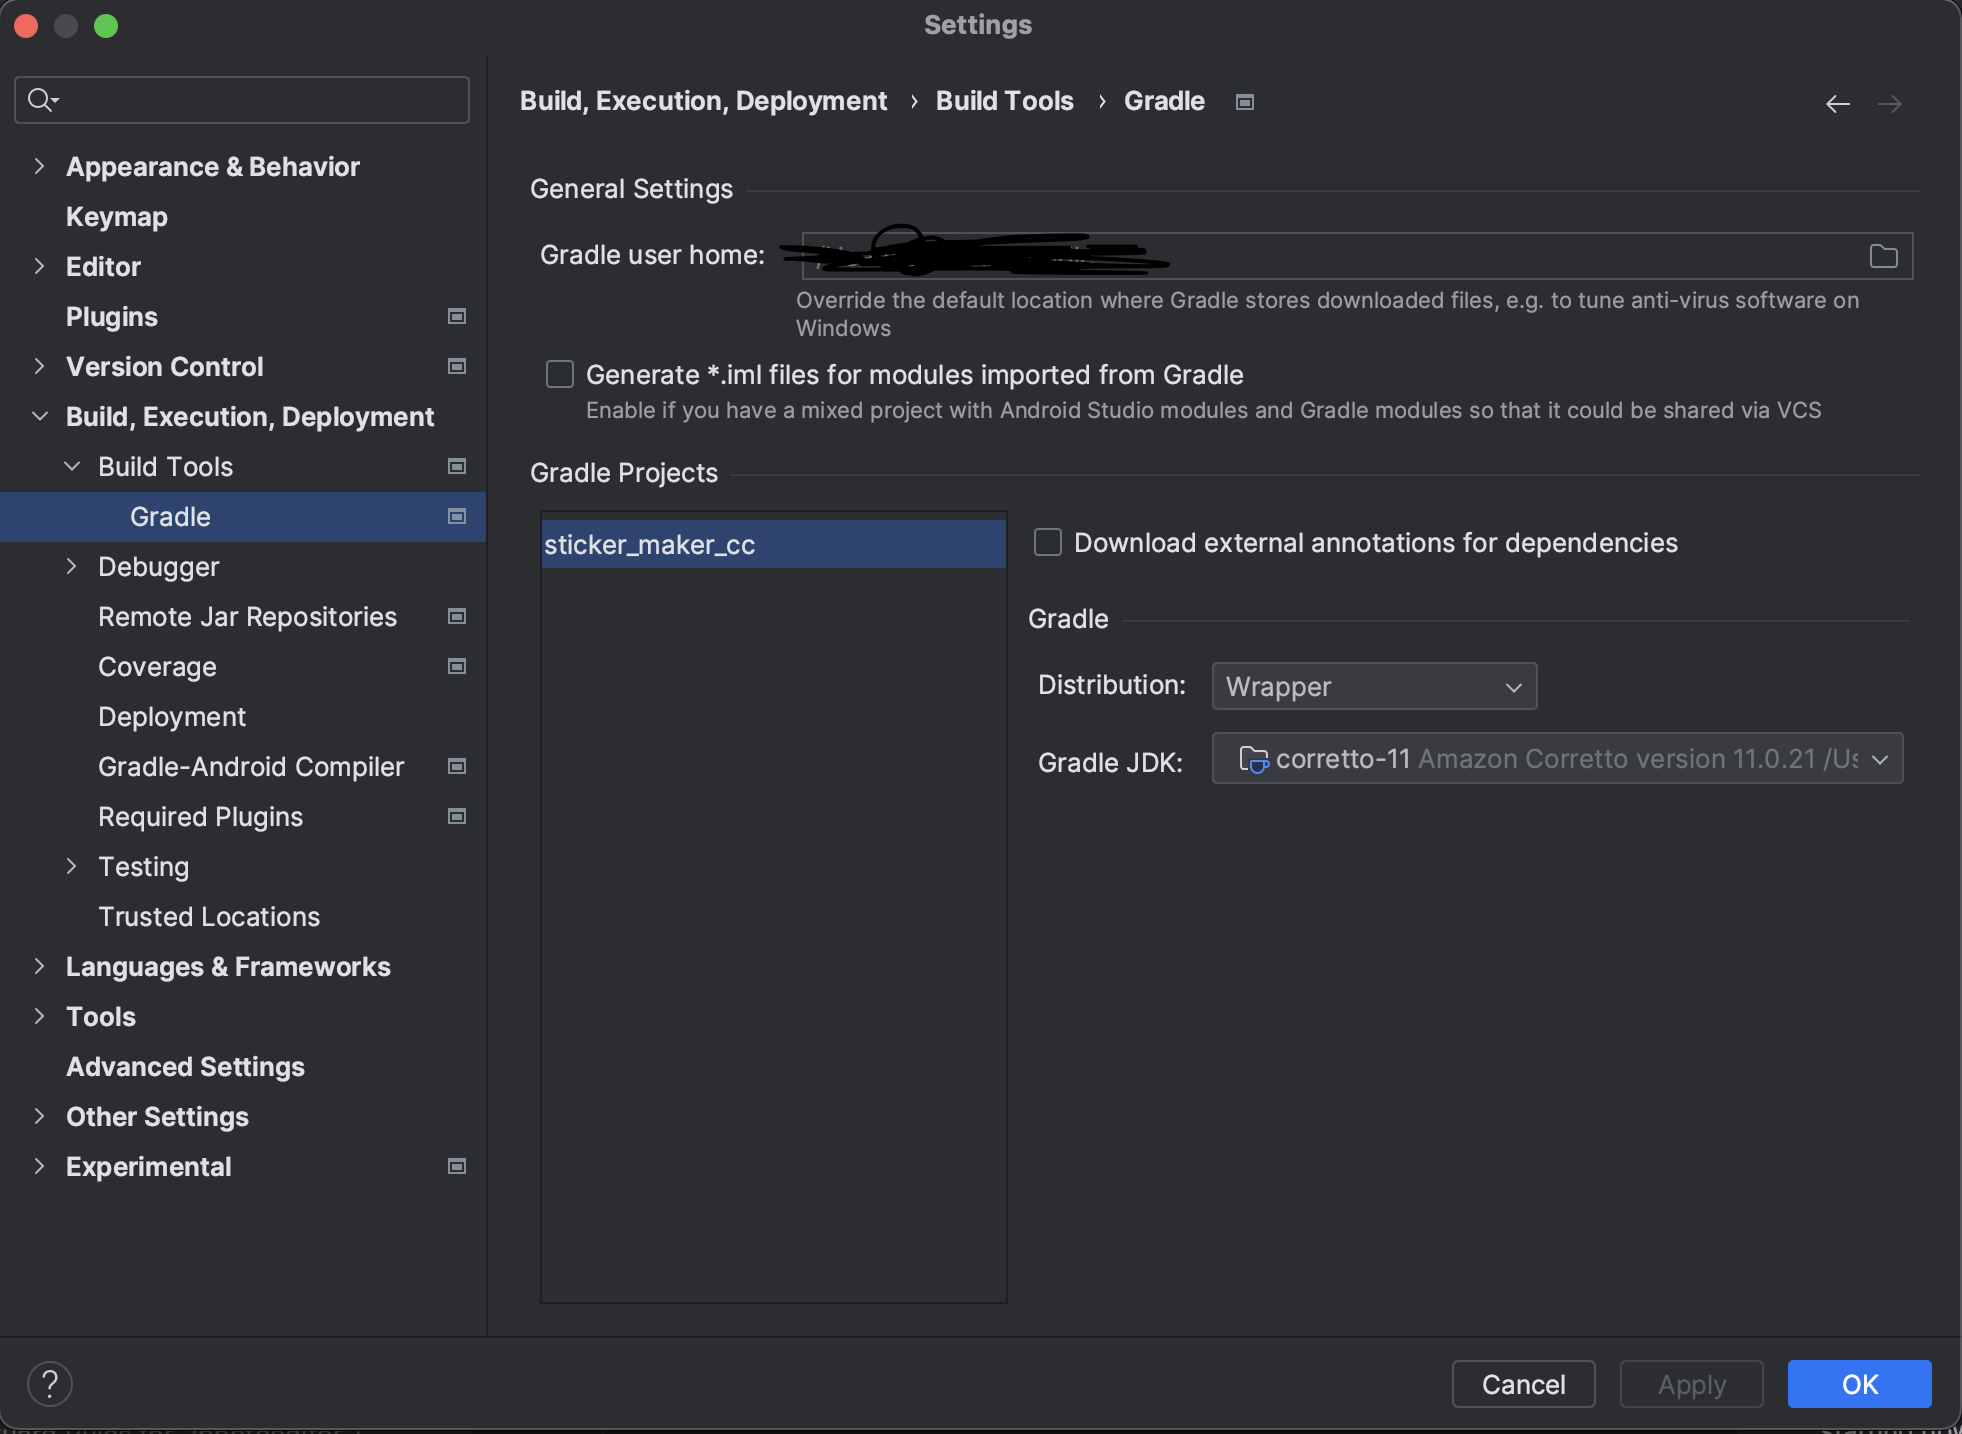
To use this project you need to download the android studio on your computer first you need to visit this link (click button below) then click the button "DOWNLOAD ANDROID STUDIO" to get the latest version for your system
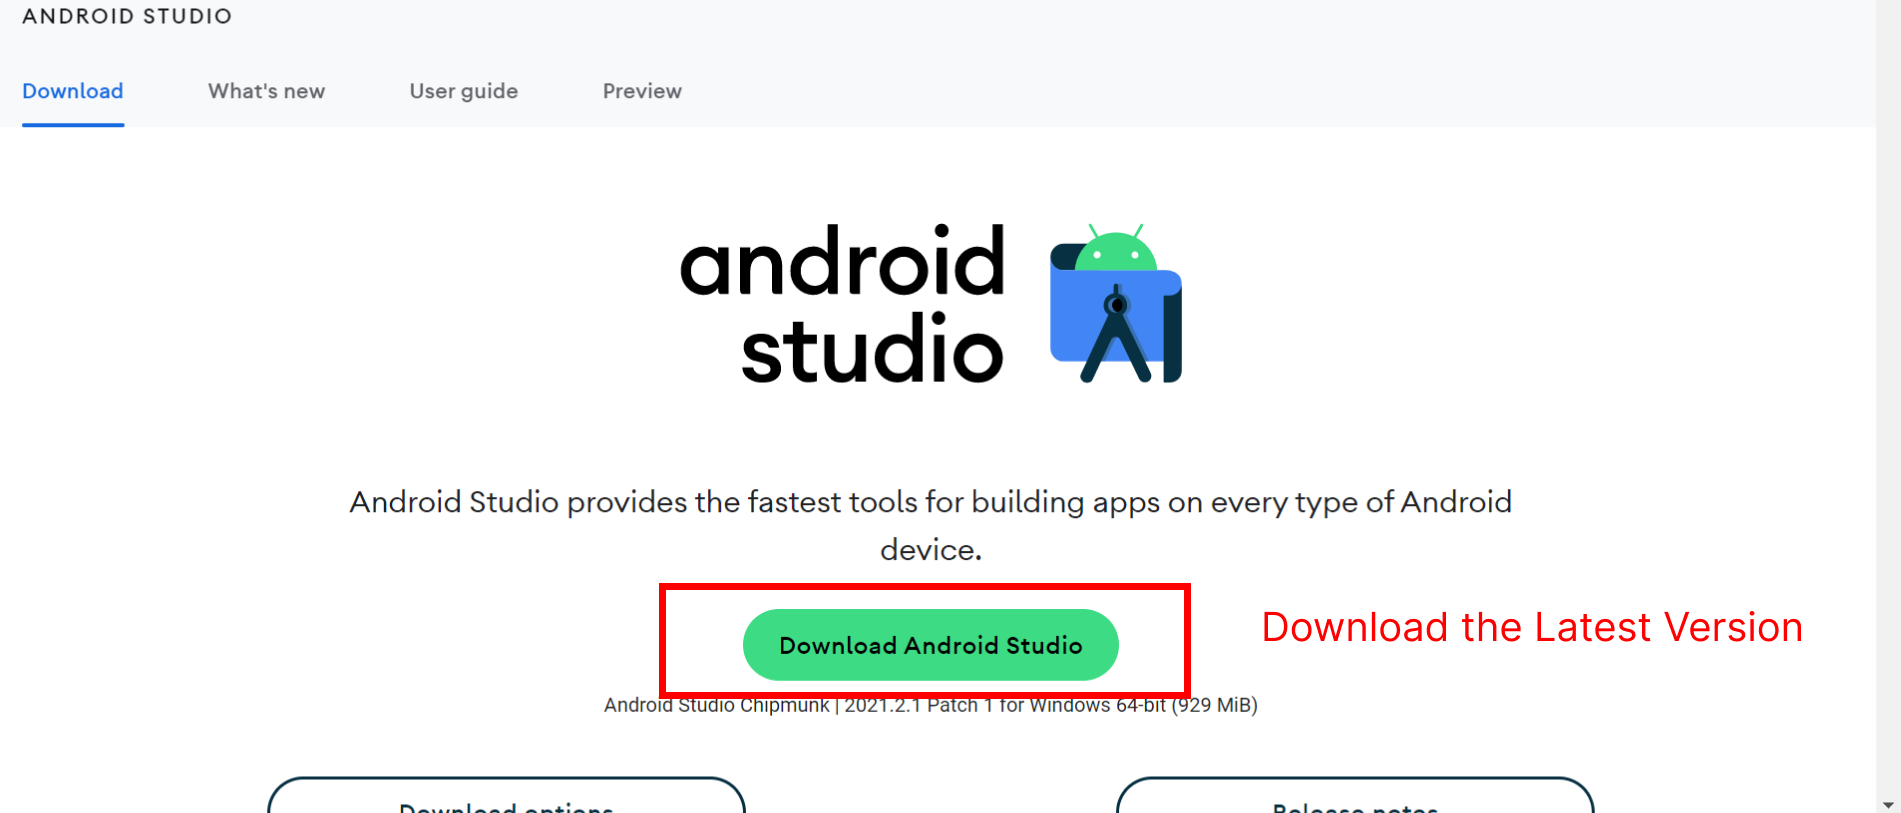
To use this project you need to download the android studio on your computer first you need to visit this link (click button below) then click the button "DOWNLOAD ANDROID STUDIO" to get the latest version for your system
After Download the Android Studio you need to install it on your PC/MAC.
Follow the steps here to install -> Official Google Docs.
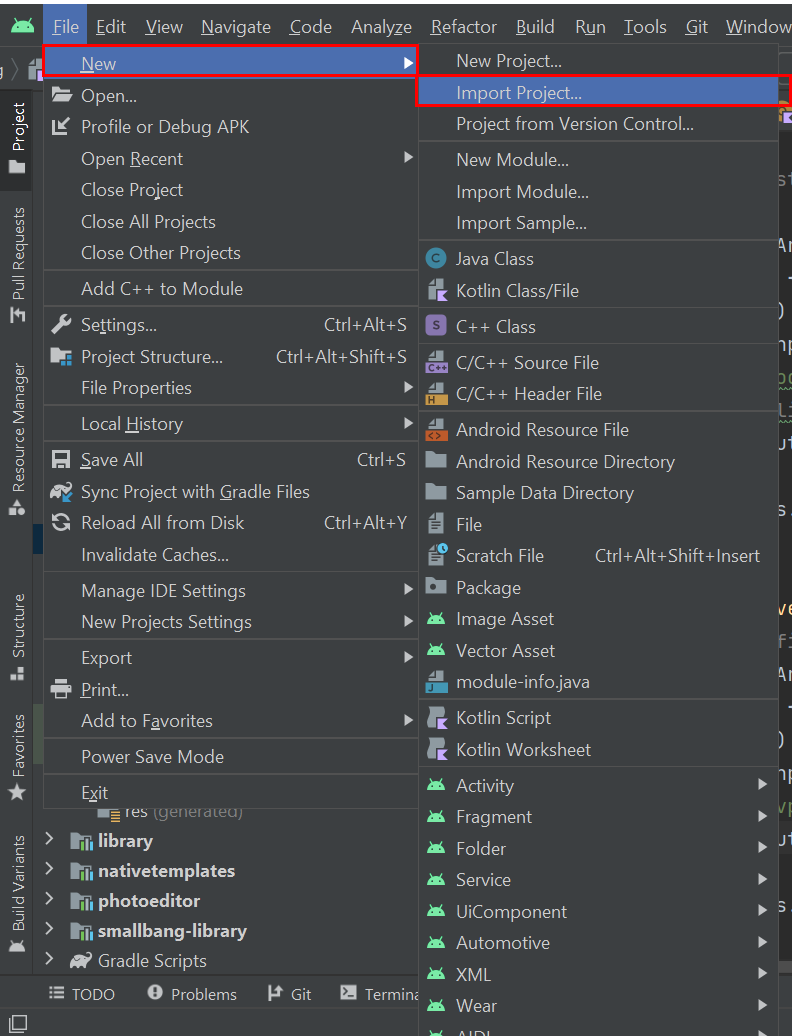
Now you need to open the Android Application on Android Studio just follow the steps below to open the project .
1. In Menu, click File > New > Import Project, and select the project file. .
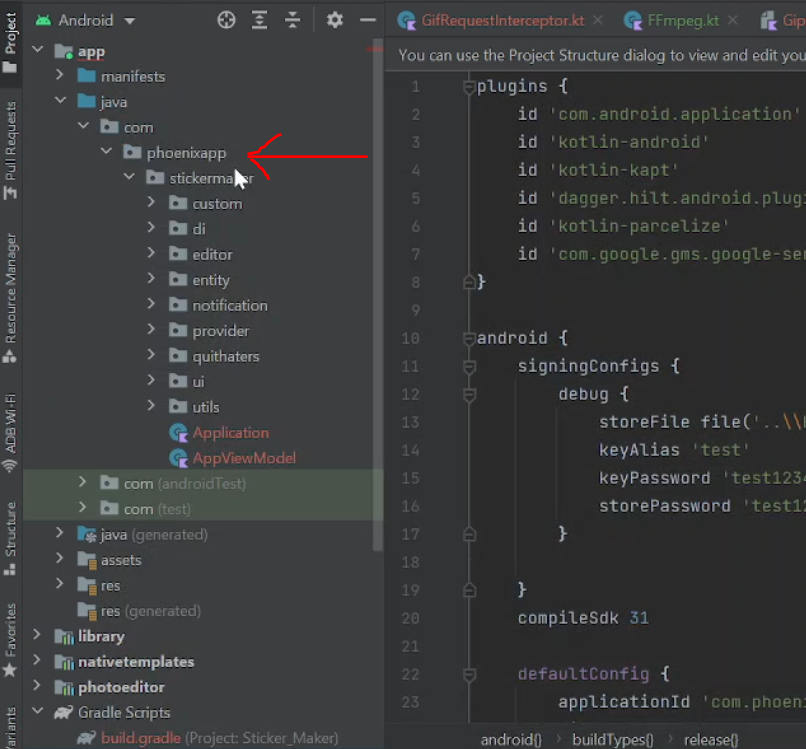
After Download , install and open the project on Android Studio , now you need to config your source code and make it ready by change package name config.
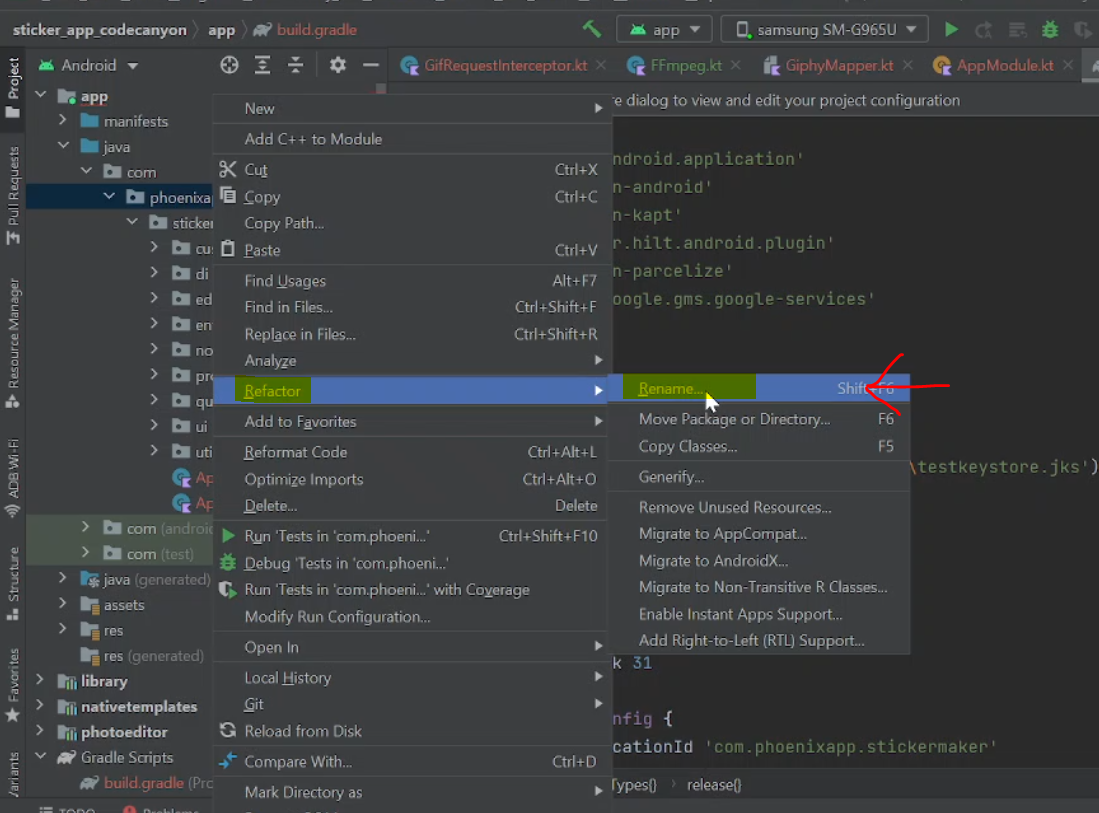
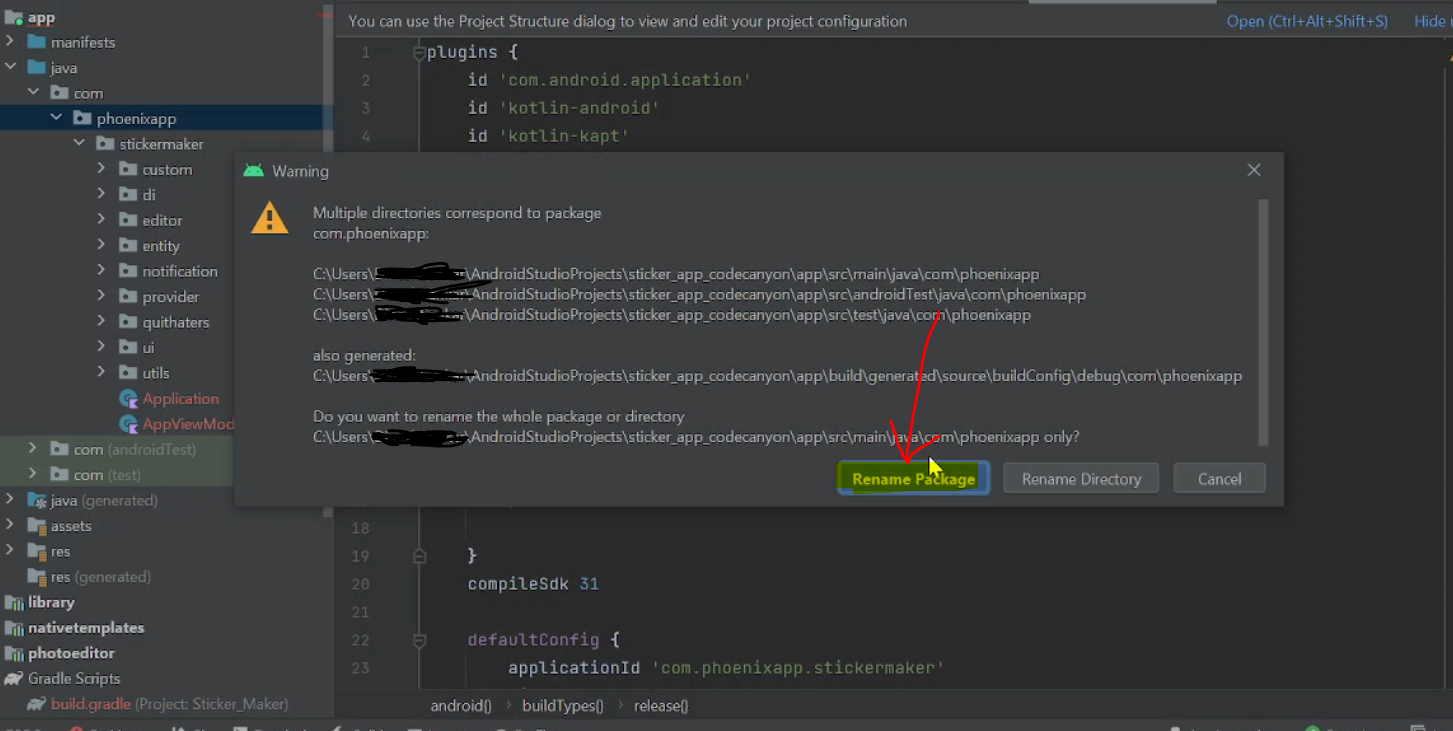
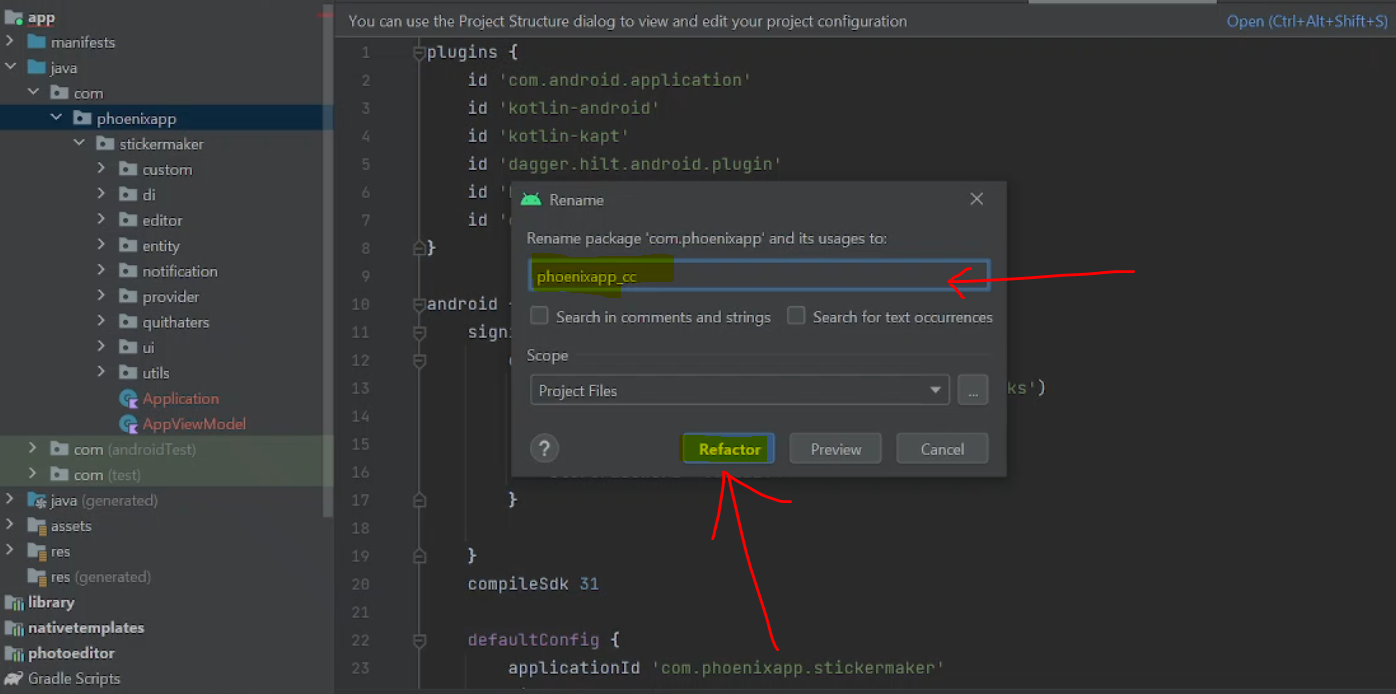
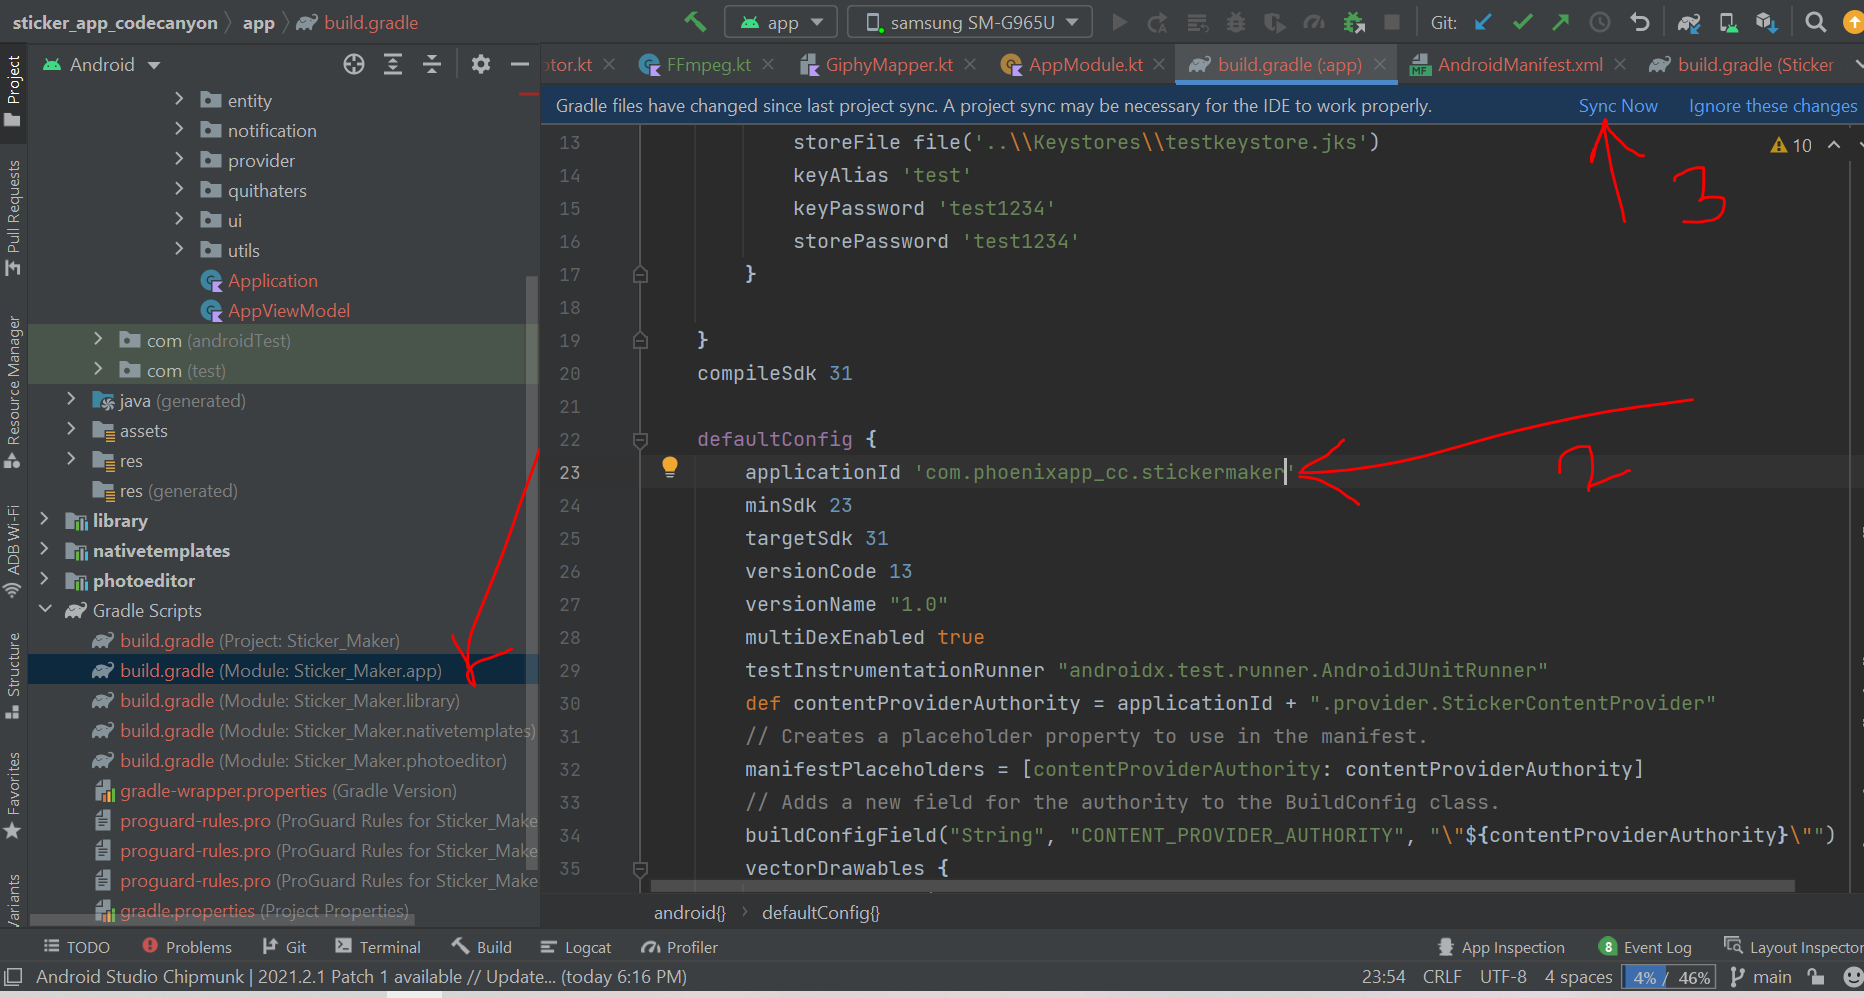
Every Android Application on Google Play has a unique package name (unique id) , for this application too we need to use a unique package name , for that you need to choose a unique package name (ApplicationId) with three part for example : com.companyname.appname , now to change you package name follow thesteps below. :
1. right click and change the package name as whatever you want. (should be Unique)"
After Change package name now you need to config the firebase (firebase its a google service used to send notification)
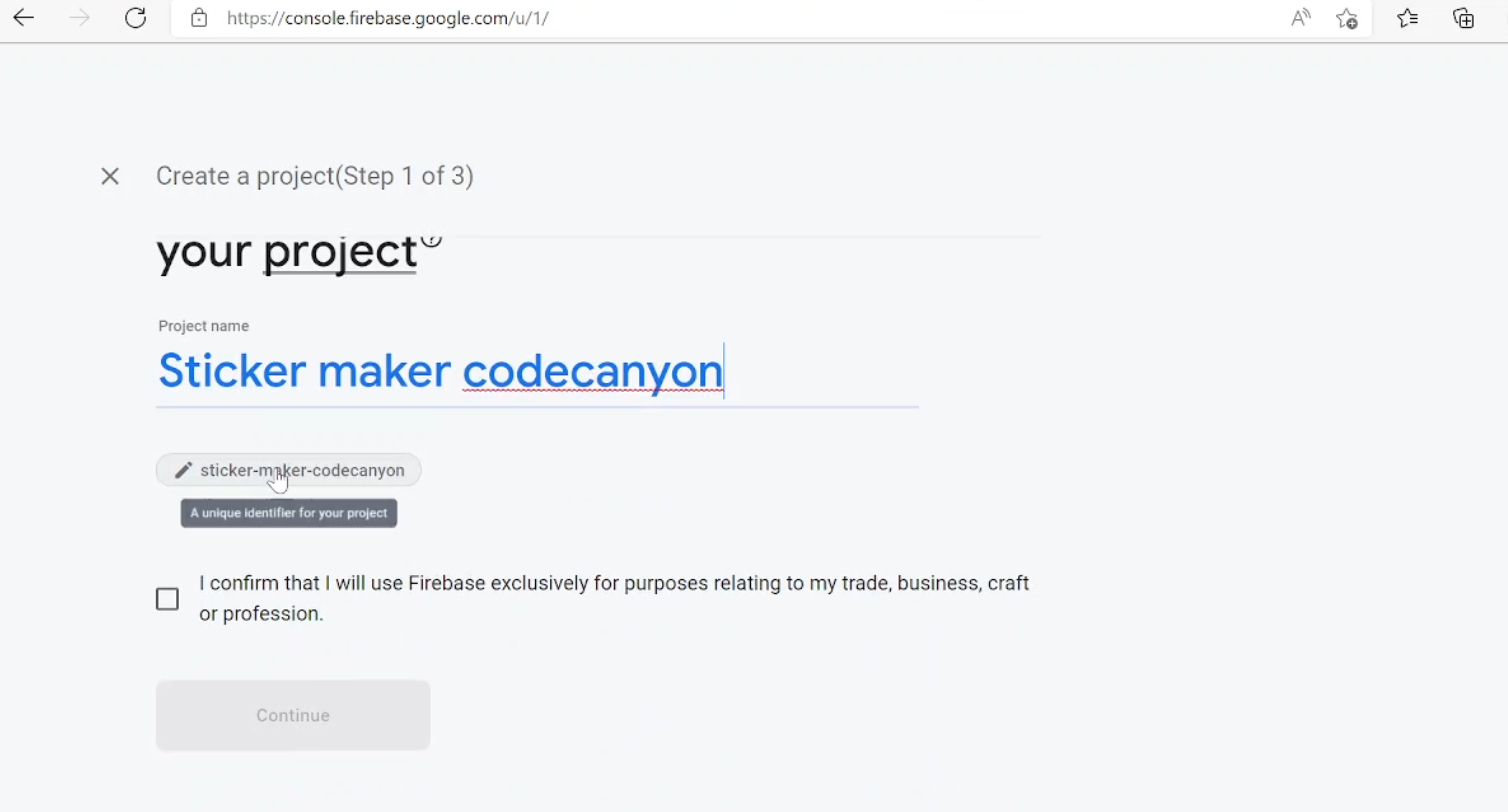
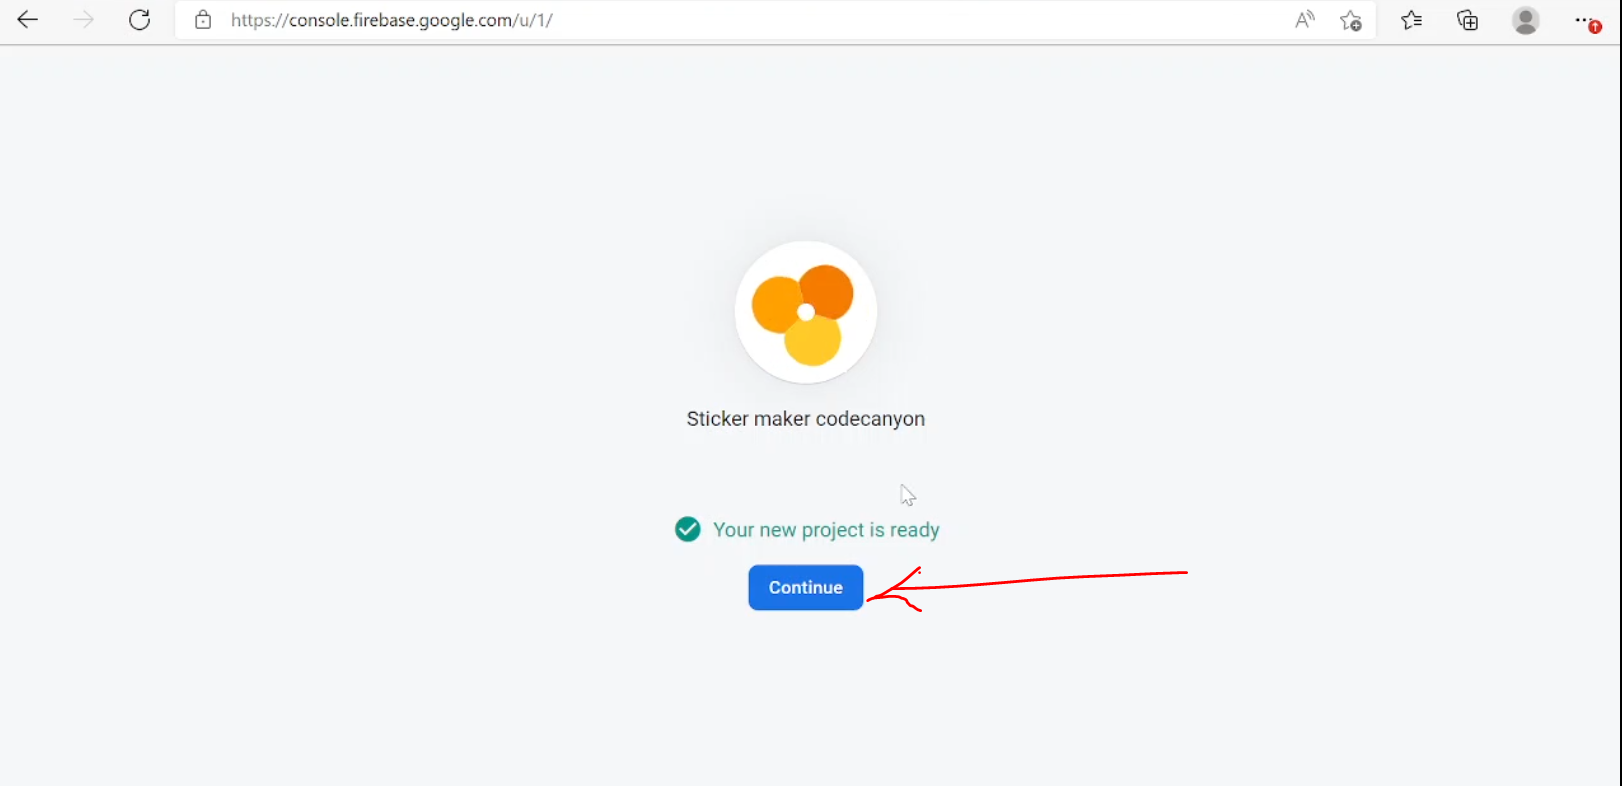
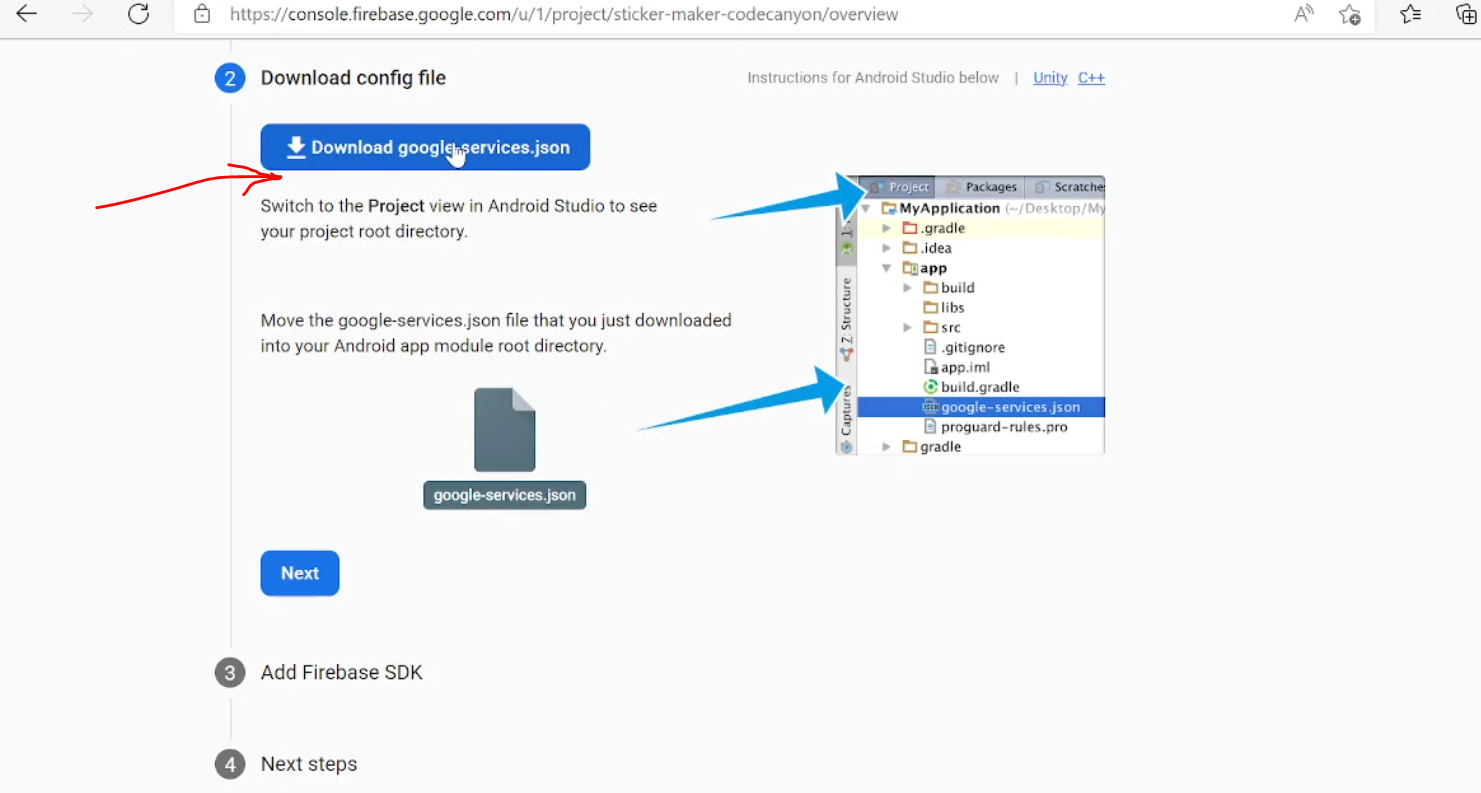
1. Go to Firebase Console, create new project - "Name the project whatever you want."
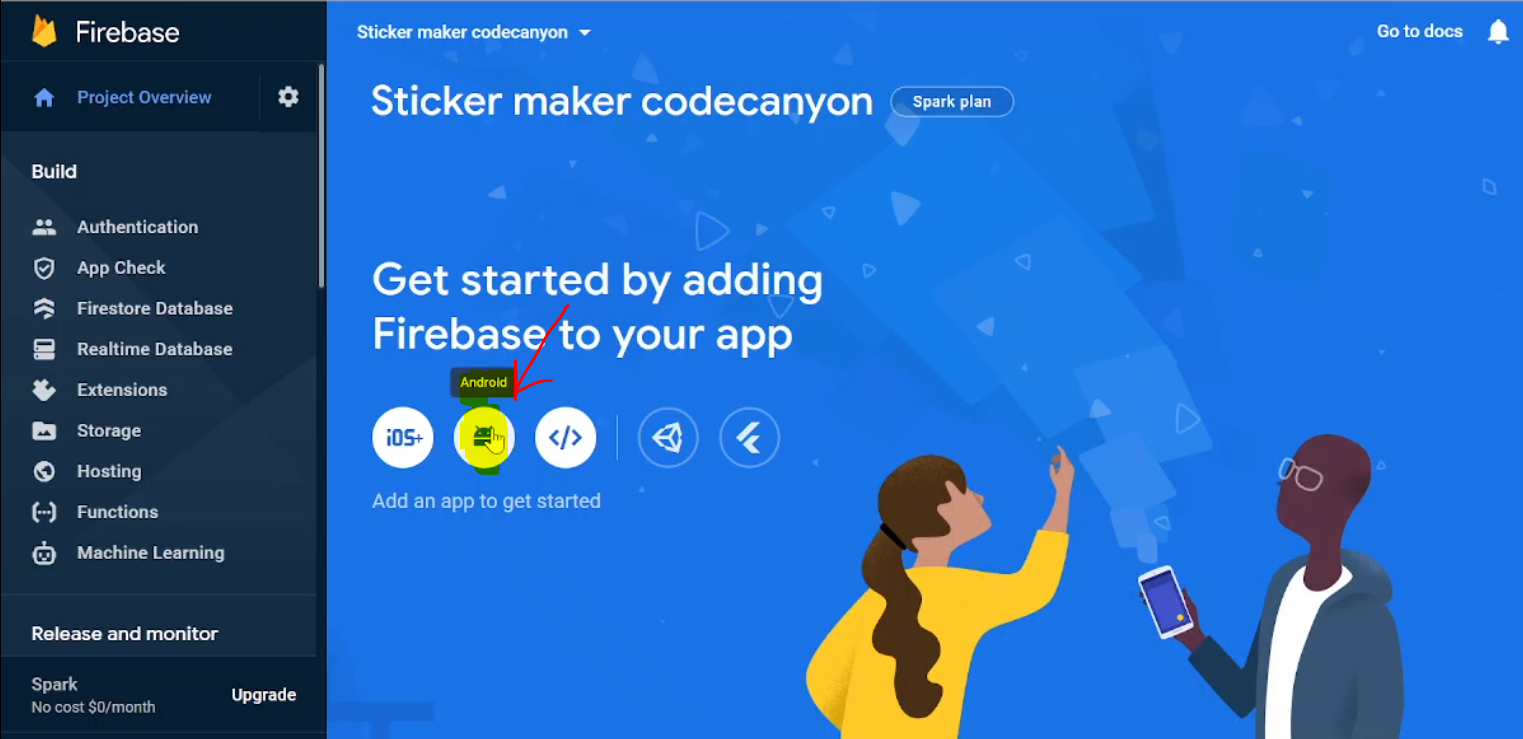
2. Click on Android to create Android App inside our project
3. Enter the Application Package Name, you will get in AndroidManifest.xml file and click on register.
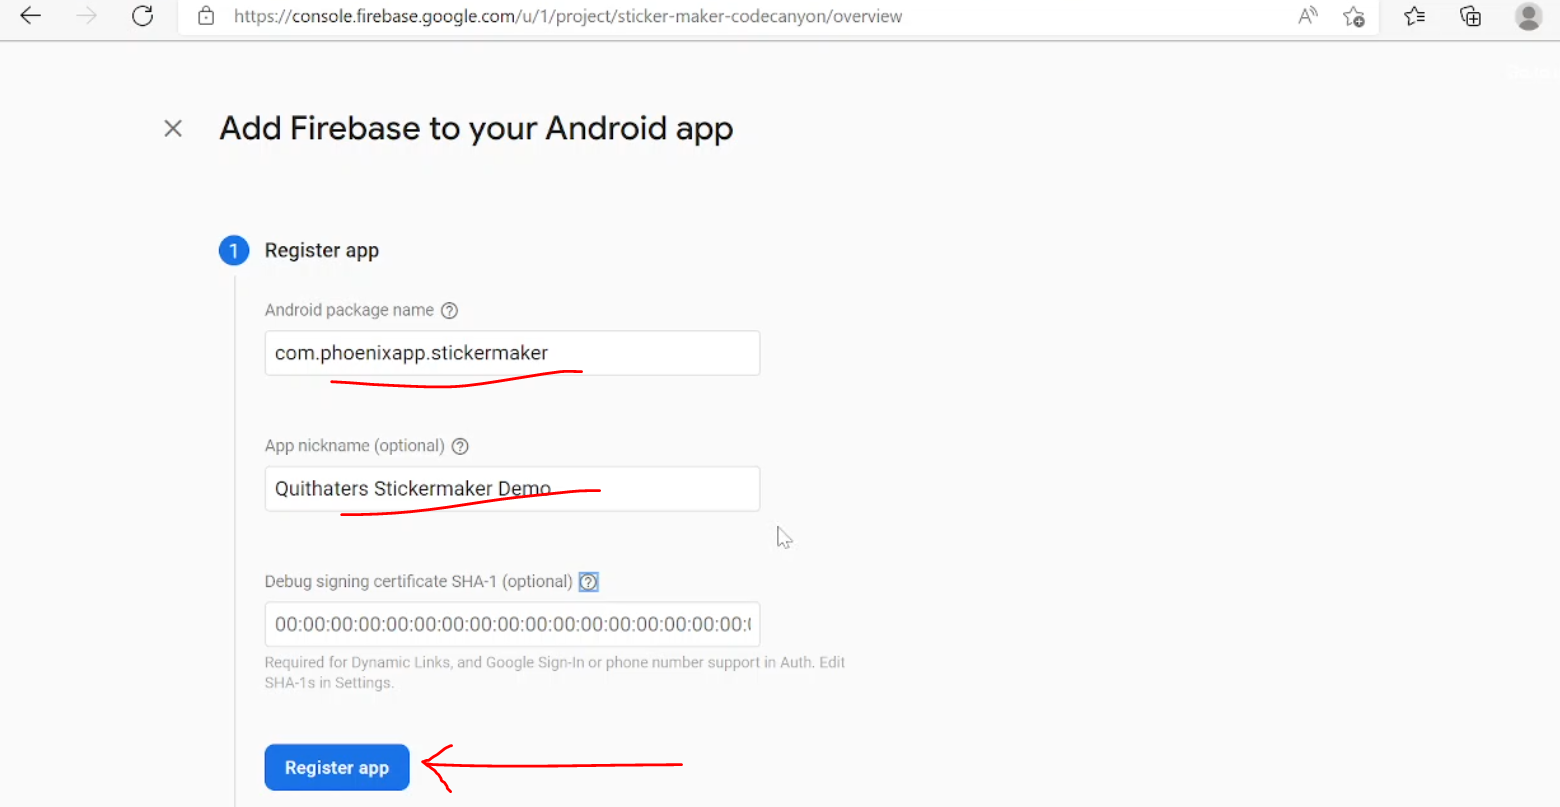
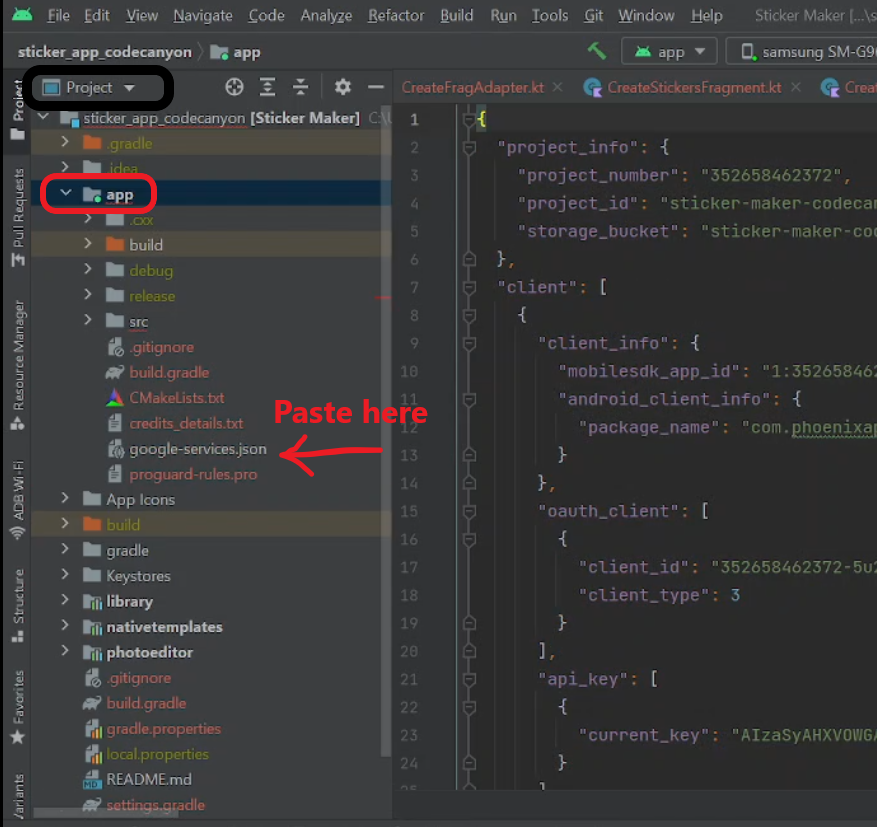
4. Download the Json file and paste/replace in app folder
After config Firebase now you need to config the Admob Ads Application (this configuratio required to show Googel Ads. )
Android App>res>values>strings.xml
<string name="admob_app_id">xxxx-xxxx-xxxxx-xxxxx-xxxxxx-xxxxx</string>
<string name="native_ad_id">xxxx-xxxx-xxxxx-xxxxx-xxxxxx-xxxxx</string>
<string name="banner_ad_id">xxxx-xxxx-xxxxx-xxxxx-xxxxxx-xxxxx</string>
<string name="interstitial_ad_id">xxxx-xxxx-xxxxx-xxxxx-xxxxxx-xxxxx</string>
<string name="appopen_ad_id">xxxx-xxxx-xxxxx-xxxxx-xxxxxx-xxxxx</string>
To protect your application on google play you need to add your item purchase code in your application , to do this , go to your Envato Profile > Download > Section > click Download on The The Application and Download the license and copy your item purchase code .
then go to
Android App>res>values>strings.xml <string name="ITEM_PURCHASE_CODE">xxxx-xxxx-xxxxx-xxxxx-xxxxxx-xxxxx</string> After config everything now you app need a customization to take your touch like title,icon,colors ....
To change the application name
Go to :
Android App>res>values>strings.xml<string name="app_name">stickers </string>
To change the Support Email Address
Go to :
Android App>res>values>strings.xml<string name="get_mail">yourmail@gmail.com </string>
To change the application logo
Go to :
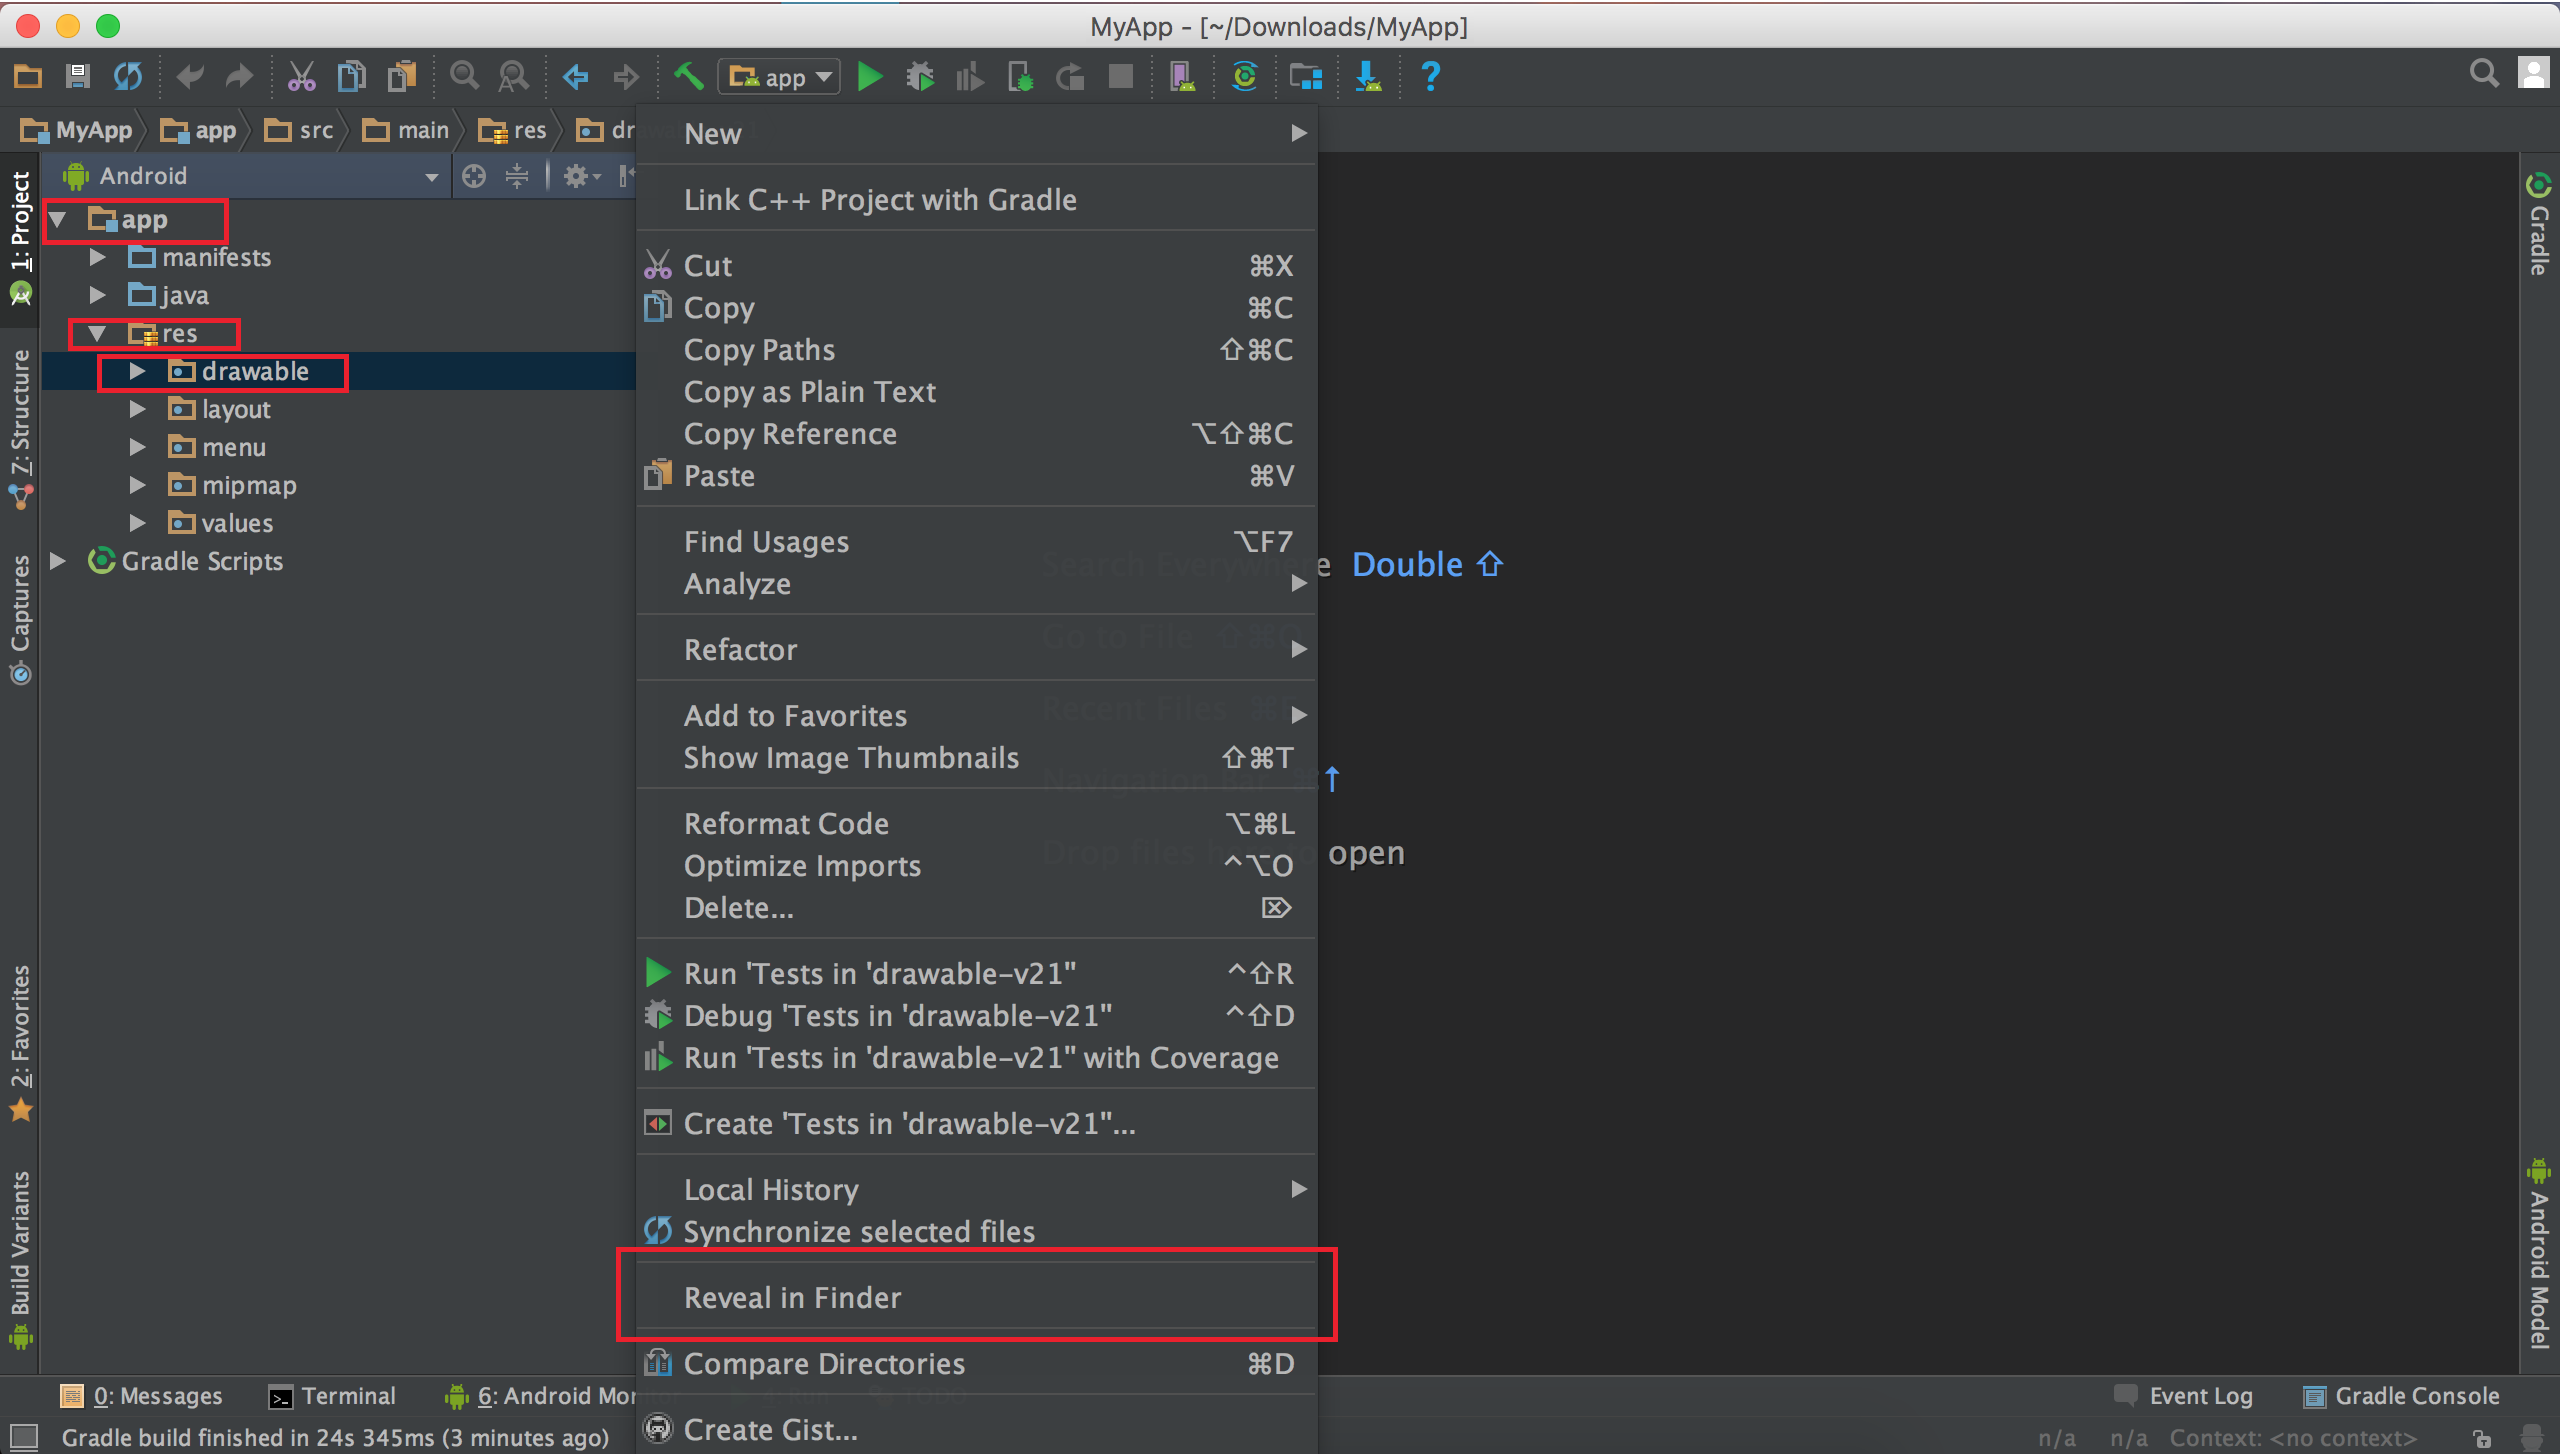
Then change the icon on folders bellow
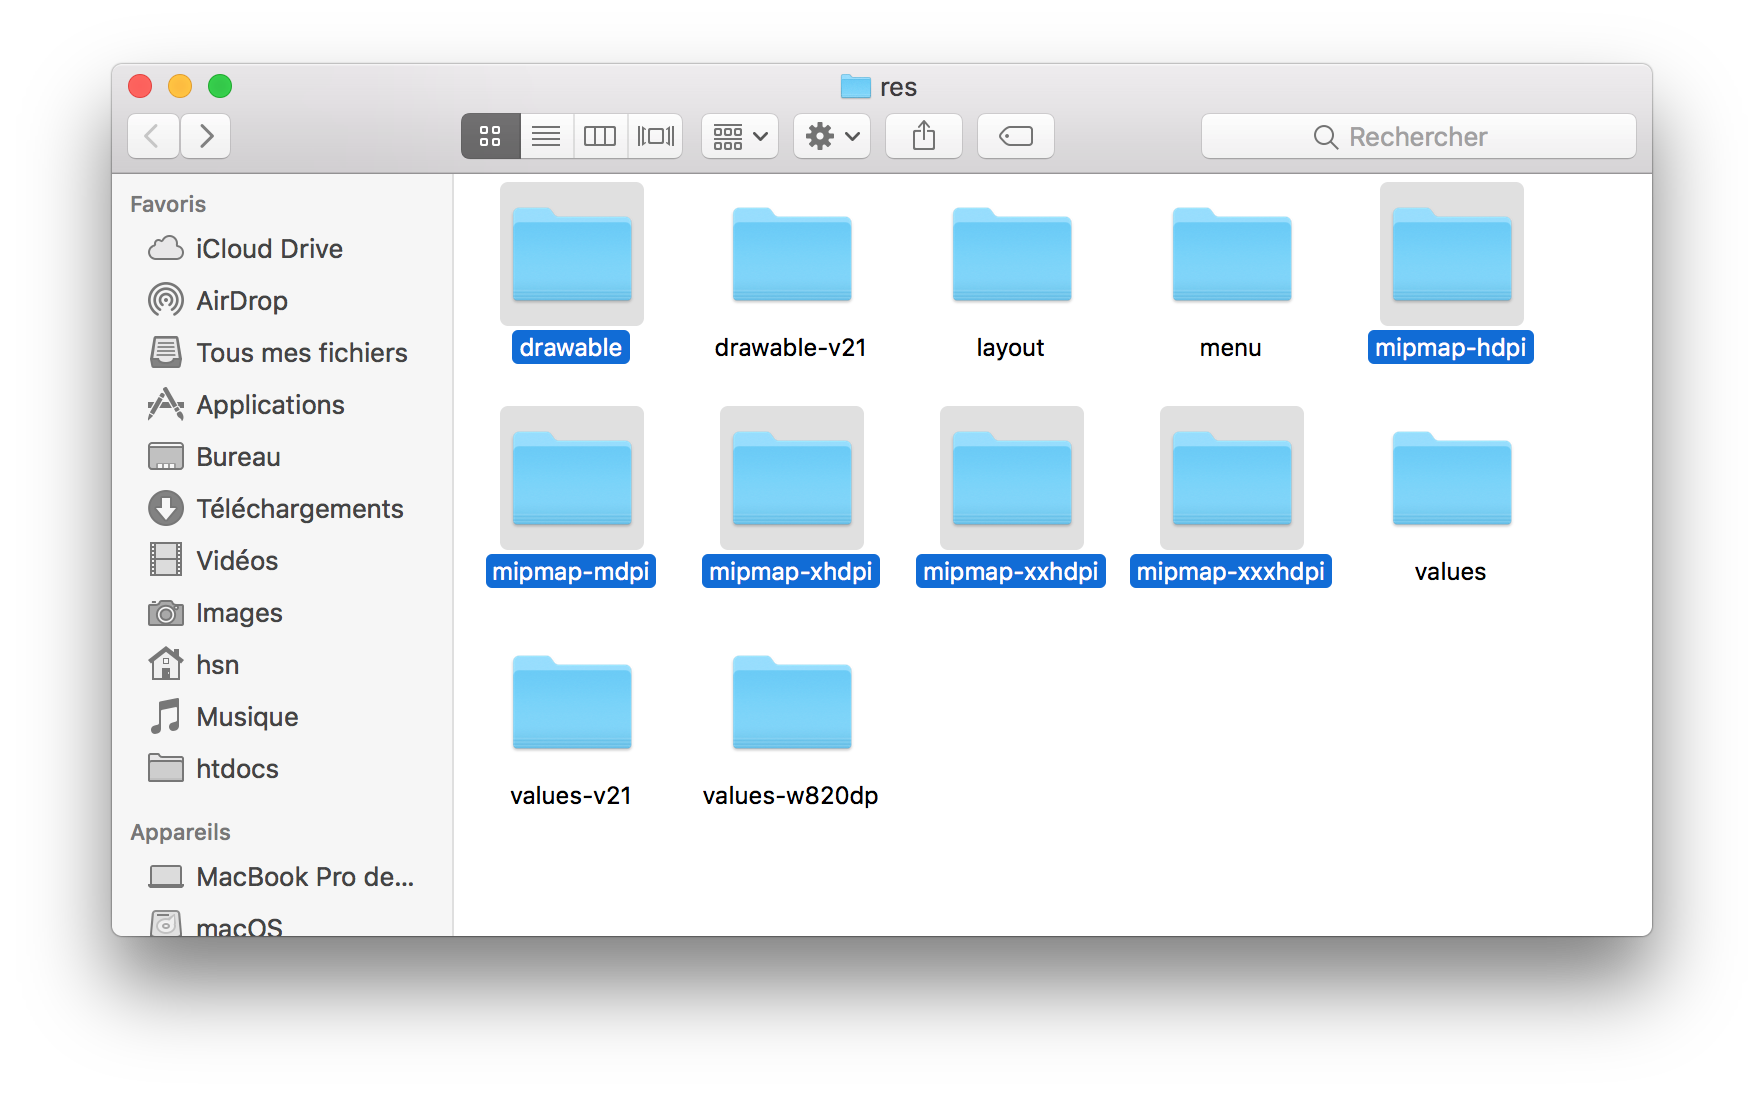
replace the ic_launcher.png image by your icon to drawable folder with name logo.png and size 512px x 512 px
replace the ic_launcher.png image by your icon to mipmap-mdpi folder with name ic_launcher.png and size 48px x 48 px
replace the ic_launcher.png image by your icon to mipmap-hdpi folder with name ic_launcher.png and size 72px x 72 px
replace the ic_launcher.png image by your icon to mipmap-xhdpi folder with name ic_launcher.png and size 96px x 96 px
replace the ic_launcher.png image by your icon to mipmap-xxhdpi folder with name ic_launcher.png and size 144px x 144 px
replace the ic_launcher.png image by your icon to mipmap-xxxhdpi folder with name ic_launcher.png and size 192px x 192 px
To change the application colors
Go to :
Android App>res>values>colors.xml
<color name="colorPrimaryDark">#COLOR_CODE</color>
<color name="colorPrimaryLight">#COLOR_CODE</color>
<color name="colorPrimary">#COLOR_CODE</color>
<color name="colorPrimaryDarkMenu">#COLOR_CODE</color>
<color name="colorPrimarybg">#COLOR_CODE</color>
<color name="colorAccent">#COLOR_CODE</color>
<color name="favColor">#COLOR_CODE</color>
<color name="surface_bg_color">#COLOR_CODE</color>